
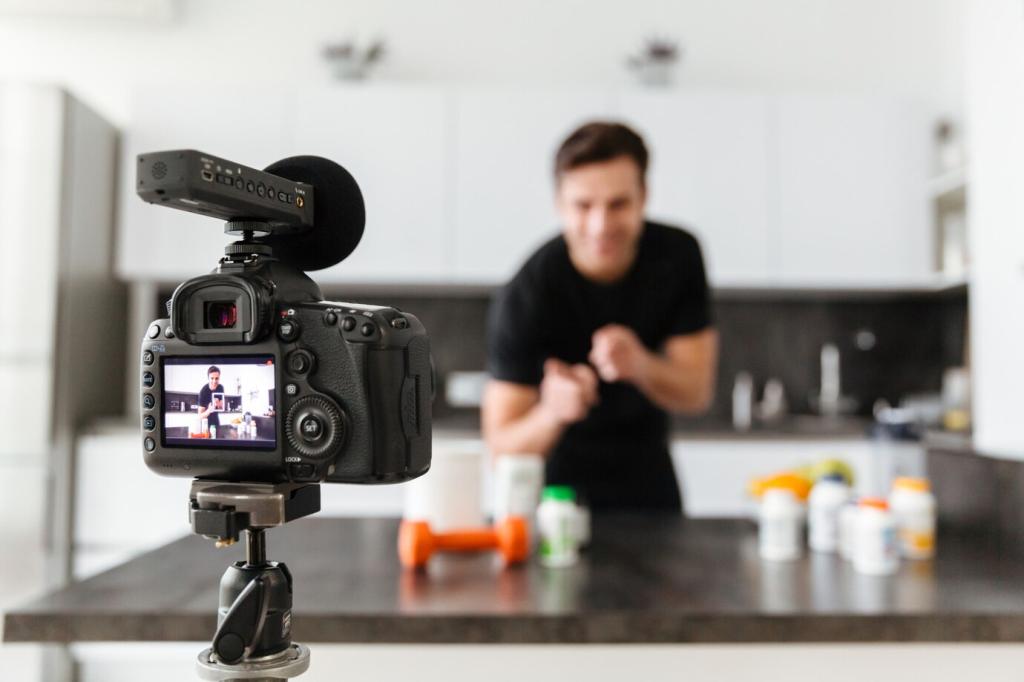

ISO: Clean Files vs. Nighttime Grit
Cameras often perform best near base ISO, preserving highlights and subtle color. Some modern sensors handle underexposure gracefully, recovering shadows in post. Know your camera’s limits by testing shadow recovery and highlight roll-off. Share your results and model in the thread.
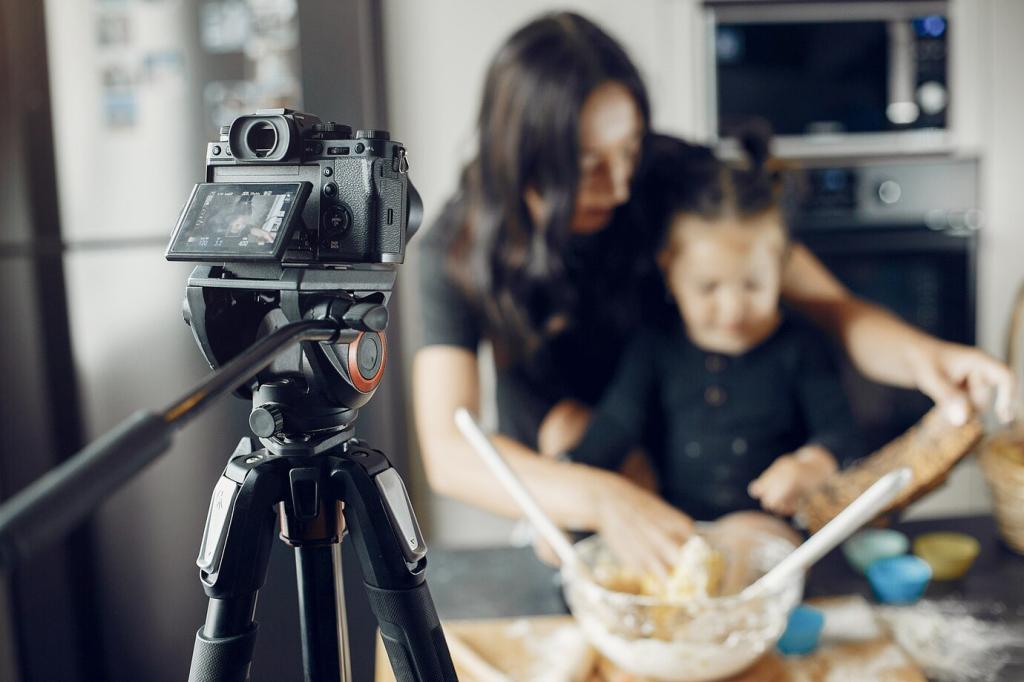
ISO: Clean Files vs. Nighttime Grit
When light is scarce, prioritize exposure that protects important tones, especially faces. Underexposed files brighten poorly and reveal gritty noise. When safe, raise ISO to secure a healthier histogram and cleaner shadows. Comment with your preferred noise reduction workflow.